Showing posts with label clothing. Show all posts

Tuesday, August 5, 2008

Low-Tech Screen Printing Tutorial (cheap!)

This is by far one of my all time favorite craft tutorials. I found it a couple years on the lovely LJ community CraftGrrl. Its an easy and cheap way to screen print shirts.

Here's what you need:

1) Embroidery hoop. For more stability you can use a canvas frame and a staple gun.
2) Sheer fabric. Tulle and Nylon don't work very well but you want something that you're going to be able to see through and paint will soak through.
3) Mod Podge
4) Fabric paint (whatever color you want)
5) Paint brushes
6) Scissors
7) Pencil

You'll also need a shirt or something to print on, and a pattern, drawing or design to print.

The fabric should be sheer like this.


First you want to attach your fabric to your embroidery hoop or frame - make sure it is firmly secured and stretched out tight. Next you are going to trace your design onto the fabric.


Thanks to Girlx512 for the image. (and the next few)


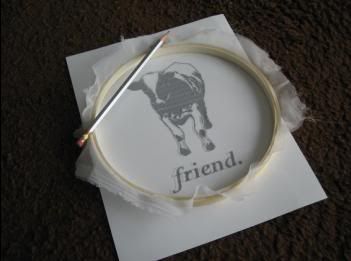
After you've traced your design you are going to paint in all the NEGATIVE space with Mod Podge. This means you want to cover any area of your design that you don't want to be colored in when you print it.


Once the Mod Podge is is dry you put it down on top of whatever you want to screen print and gently dab the fabric paint (or screen-printing ink if you have it) through the screen.


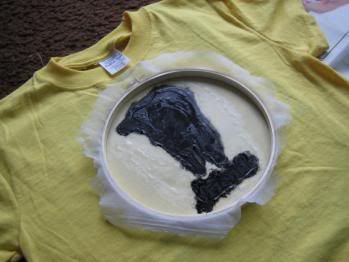
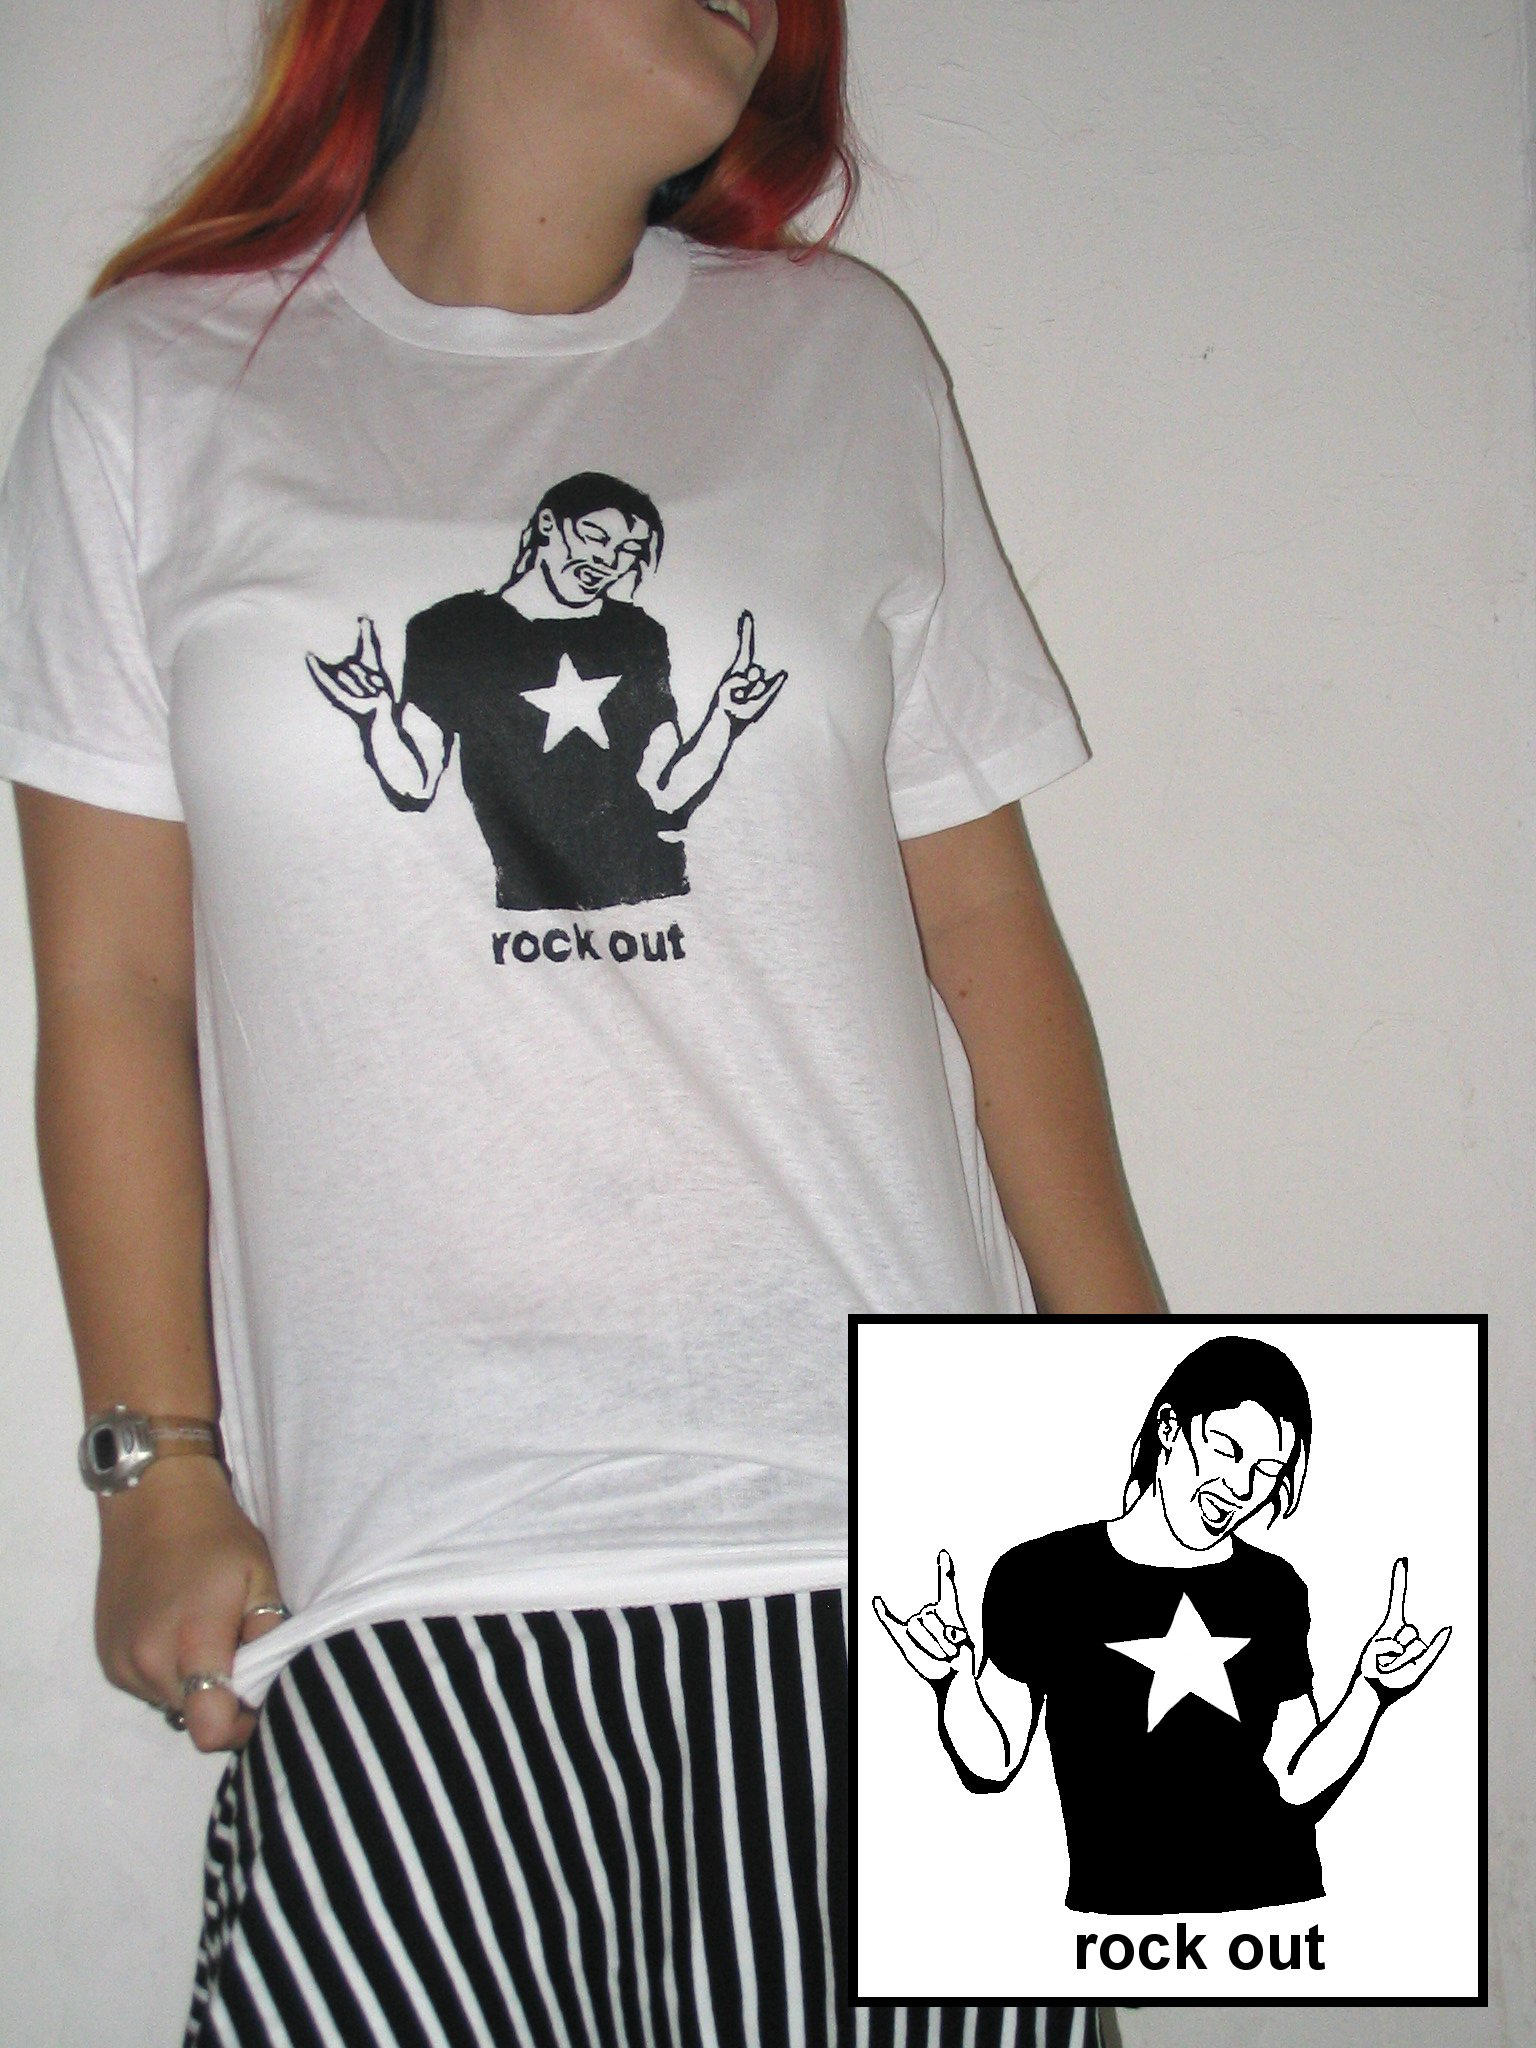
Once it's dry you should have an awesome screen printed shirt (or bag, or something else) for cheap! Here's what I did:

Monday, January 14, 2008

How To Make and Wear Wrap Pants

Project Level: n00b - if you have a sewing machine you can do this.


All my friends call these "comfy pants" because they are so comfortable. They are really easy to make (it takes about twenty minutes if you are using fabric that needs to be hemmed). You can use almost any kind of fabric you like, I prefer cotton but I've made them out of denim, synthetic-blends, strechy fabric, all kinds of fabrics.

Here are the basic instructions:


The hole that you cut out is for the crotch of the pants and should be about as big as your head. If you get it wrong and its too small, you can always cut more out and resew that seem. All the measurements are very forgiving.

Here's how to put this pair of pants on:

1. Grab an edge that has two of the ties, the seam should be in the middle
2. Wrap that edge around your waist and tie in the back.
3. Pull the rest of the fabric between your legs and up behind you. Grab the other edge with ties.
4. Wrap that side around and tie in front. yay!

If you didn't follow that maybe these instructions will help:


Enjoy your wrap pants!