I finally made another tutorial! Woohoo!
Saturday, January 16, 2010
Sunday, June 21, 2009
Independence Day Tutorials
My mom was great, she got us involved in every holiday. We were doing crafts year round. The woman had projects for every season, and July was no exception. In celebration of the season, here are some links to stuff I though would be great to make for the 4th of July!
Papercrafts:
Origami Stars
Stand-Up Paper Star
Other Decorations:
Flag Chair Covers
Tie-Dye Bunting
Firecrackers
*I never made the firecrackers, but my family used basically the same supplies (tinsel stems, aka pipe cleaners) and some sparkley beads to make little fireworks.
I never made these, but they look so fun! (I'm short...)
Can-Do Stilts
Tuesday, April 28, 2009
Aussie Crafts Videos
I just found this awesome website, AussieCrafts.com. They have a great collection of instructional crafting videos on a wide range of subjects - from beading, to pottery, to leatherworking, to woolen crafts, and more! Here's two awesome videos about recycling plastic bags I found on their site:
Saturday, November 15, 2008
Polymer Clay Tutorials
Inspired by my cupcake tutorial, I decided to post some other tutorials for making cute charms out of polymer clays like Sculpey and Fimo. Enjoy!
I dont know what kind of clay this girl uses, but you normally have to bake polymer clay.
I dont know what kind of clay this girl uses, but you normally have to bake polymer clay.
Friday, October 24, 2008
Video Tutorial: Seven Flowers Pop-Up Card
I thought this was so cute when I saw it, I had to share it!
Seven Flowers. Awesome Pop Up. - Watch more amazing videos here
Seven Flowers. Awesome Pop Up. - Watch more amazing videos here
Tuesday, August 5, 2008
Low-Tech Screen Printing Tutorial (cheap!)
This is by far one of my all time favorite craft tutorials. I found it a couple years on the lovely LJ community CraftGrrl. Its an easy and cheap way to screen print shirts.
Here's what you need:

1) Embroidery hoop. For more stability you can use a canvas frame and a staple gun.
2) Sheer fabric. Tulle and Nylon don't work very well but you want something that you're going to be able to see through and paint will soak through.
3) Mod Podge
4) Fabric paint (whatever color you want)
5) Paint brushes
6) Scissors
7) Pencil
You'll also need a shirt or something to print on, and a pattern, drawing or design to print.
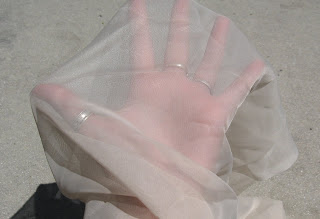
The fabric should be sheer like this.
First you want to attach your fabric to your embroidery hoop or frame - make sure it is firmly secured and stretched out tight. Next you are going to trace your design onto the fabric.
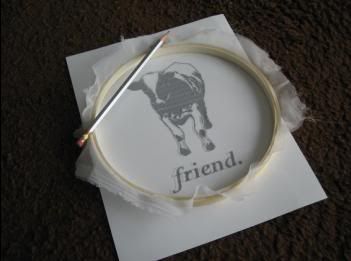
Thanks to Girlx512 for the image. (and the next few)
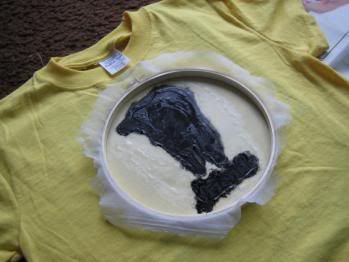
After you've traced your design you are going to paint in all the NEGATIVE space with Mod Podge. This means you want to cover any area of your design that you don't want to be colored in when you print it.

Once the Mod Podge is is dry you put it down on top of whatever you want to screen print and gently dab the fabric paint (or screen-printing ink if you have it) through the screen.
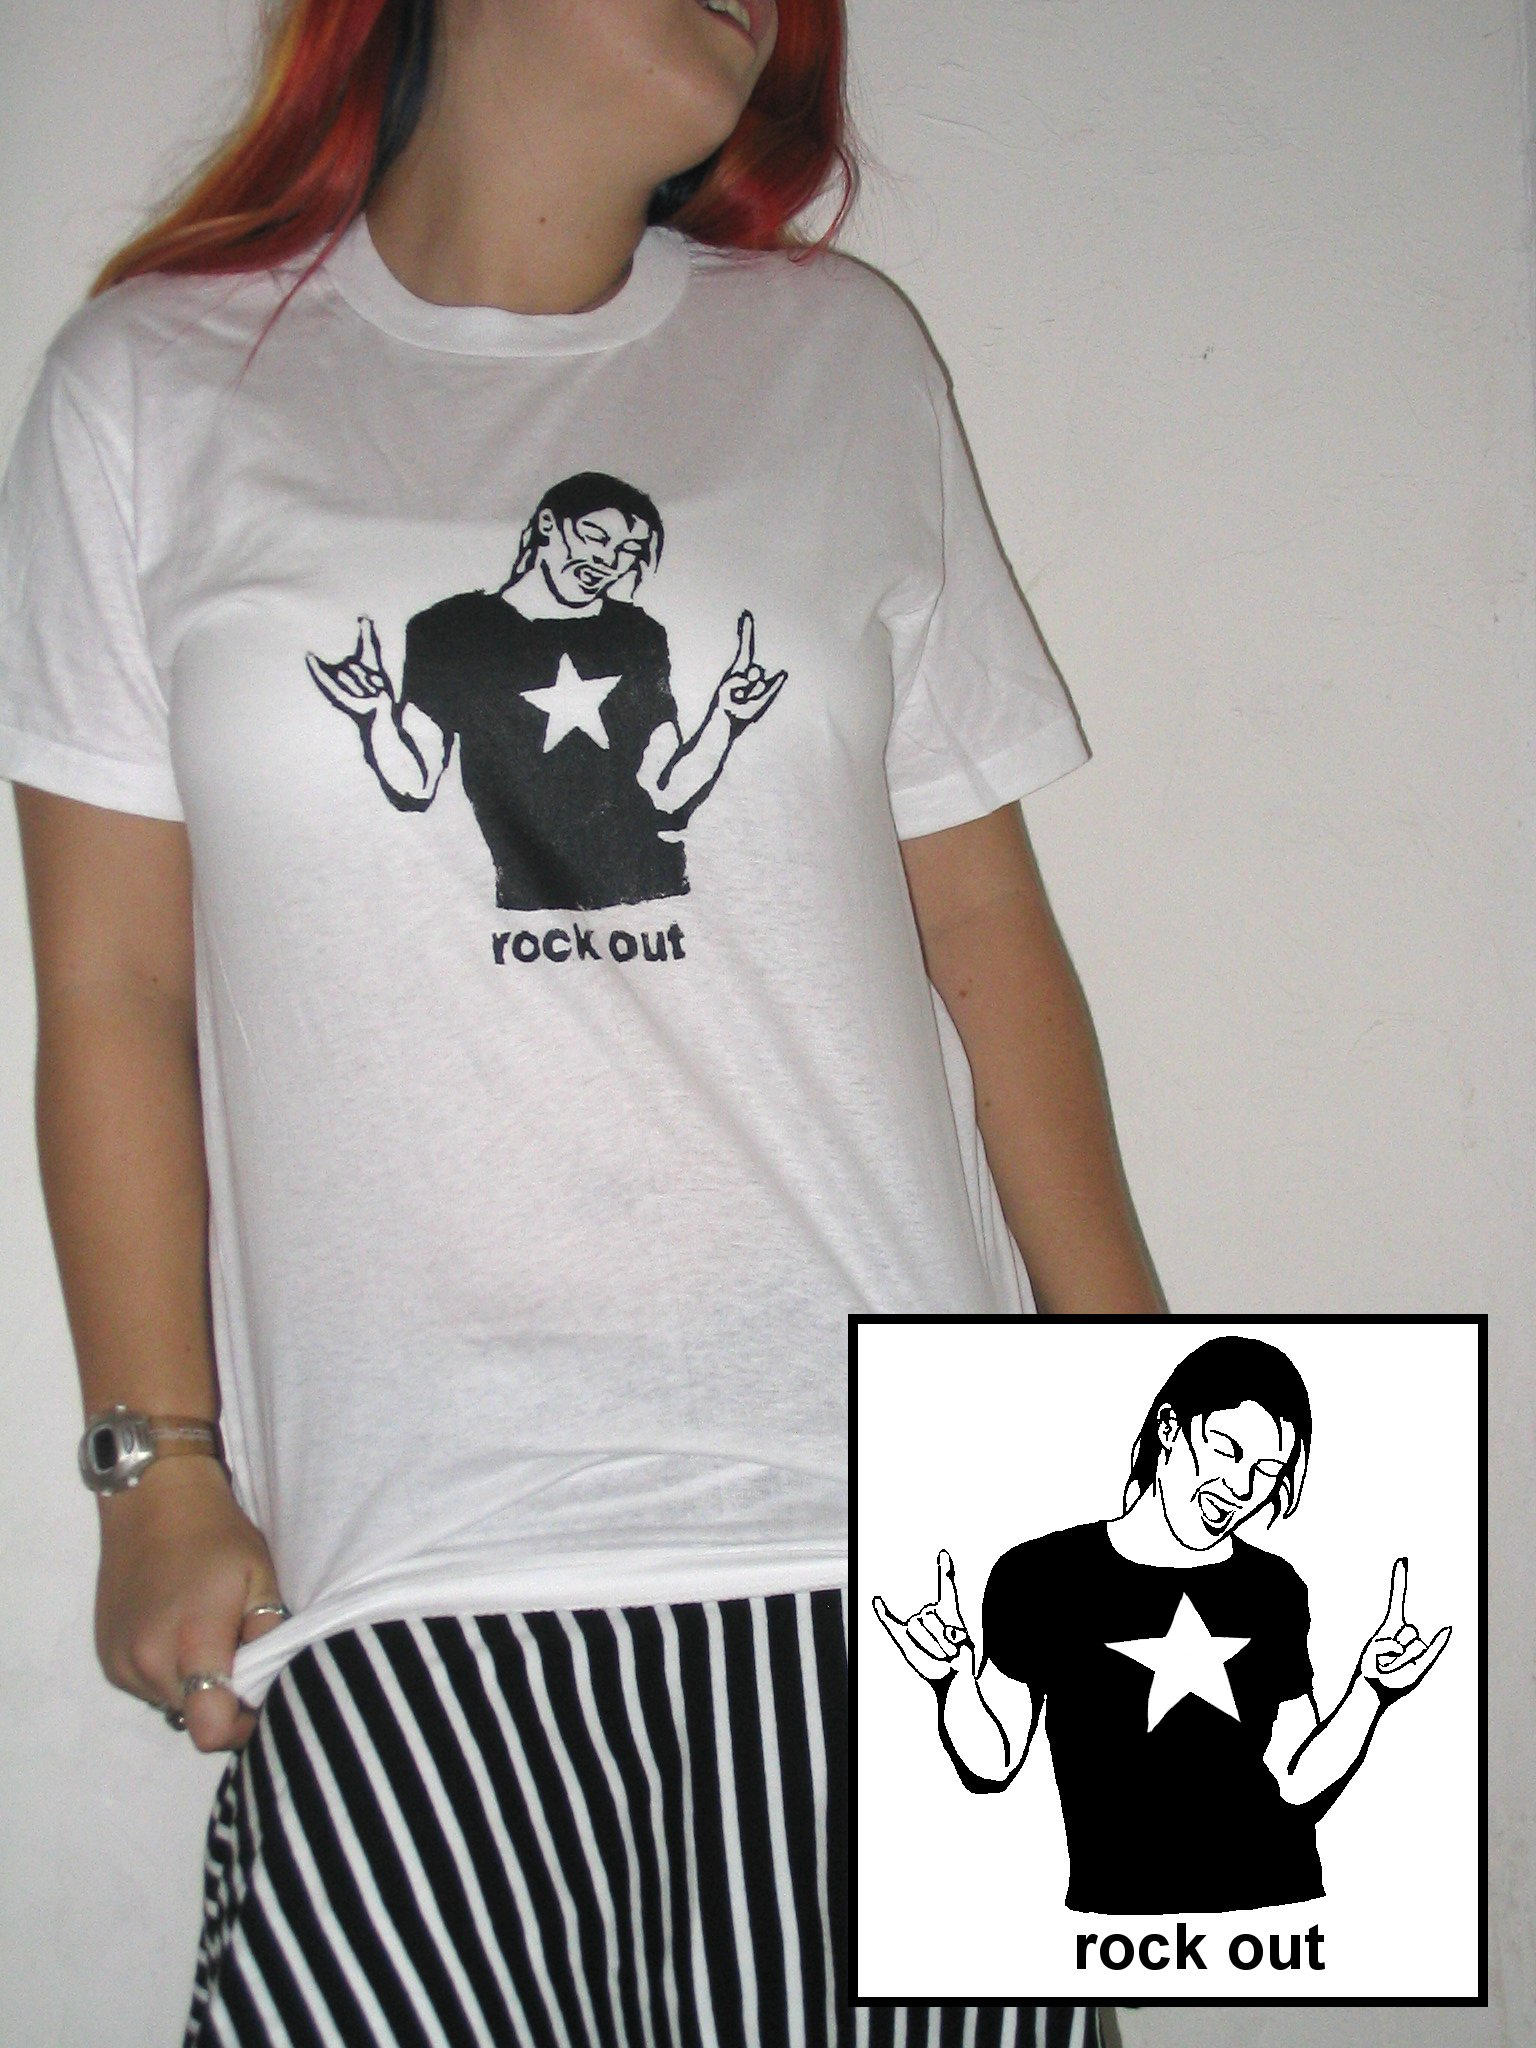
Once it's dry you should have an awesome screen printed shirt (or bag, or something else) for cheap! Here's what I did:
Here's what you need:

1) Embroidery hoop. For more stability you can use a canvas frame and a staple gun.
2) Sheer fabric. Tulle and Nylon don't work very well but you want something that you're going to be able to see through and paint will soak through.
3) Mod Podge
4) Fabric paint (whatever color you want)
5) Paint brushes
6) Scissors
7) Pencil
You'll also need a shirt or something to print on, and a pattern, drawing or design to print.

First you want to attach your fabric to your embroidery hoop or frame - make sure it is firmly secured and stretched out tight. Next you are going to trace your design onto the fabric.
After you've traced your design you are going to paint in all the NEGATIVE space with Mod Podge. This means you want to cover any area of your design that you don't want to be colored in when you print it.
Once the Mod Podge is is dry you put it down on top of whatever you want to screen print and gently dab the fabric paint (or screen-printing ink if you have it) through the screen.
Once it's dry you should have an awesome screen printed shirt (or bag, or something else) for cheap! Here's what I did:
Friday, August 1, 2008
How to Make a Mermaid Tail
Oh my god, I have such a crush on Sasha! She is super adorable, and I always love people are willing to give away their craft secrets. This tutorial is for use with a monofin, which looks really cool (I love swimming and water so I am totally facinated). Its a cool tutorial even if you don't have one though.
See her swimming around in it.
See her swimming around in it.
Subscribe to:
Posts (Atom)